Azure AD with certificate authentication
This guide explains how to set-up Azure AD identity provider in Aidbox with an asymmetric authentication mechanism. If you are looking for symmetric (secret-based one), please, follow Azure AD.
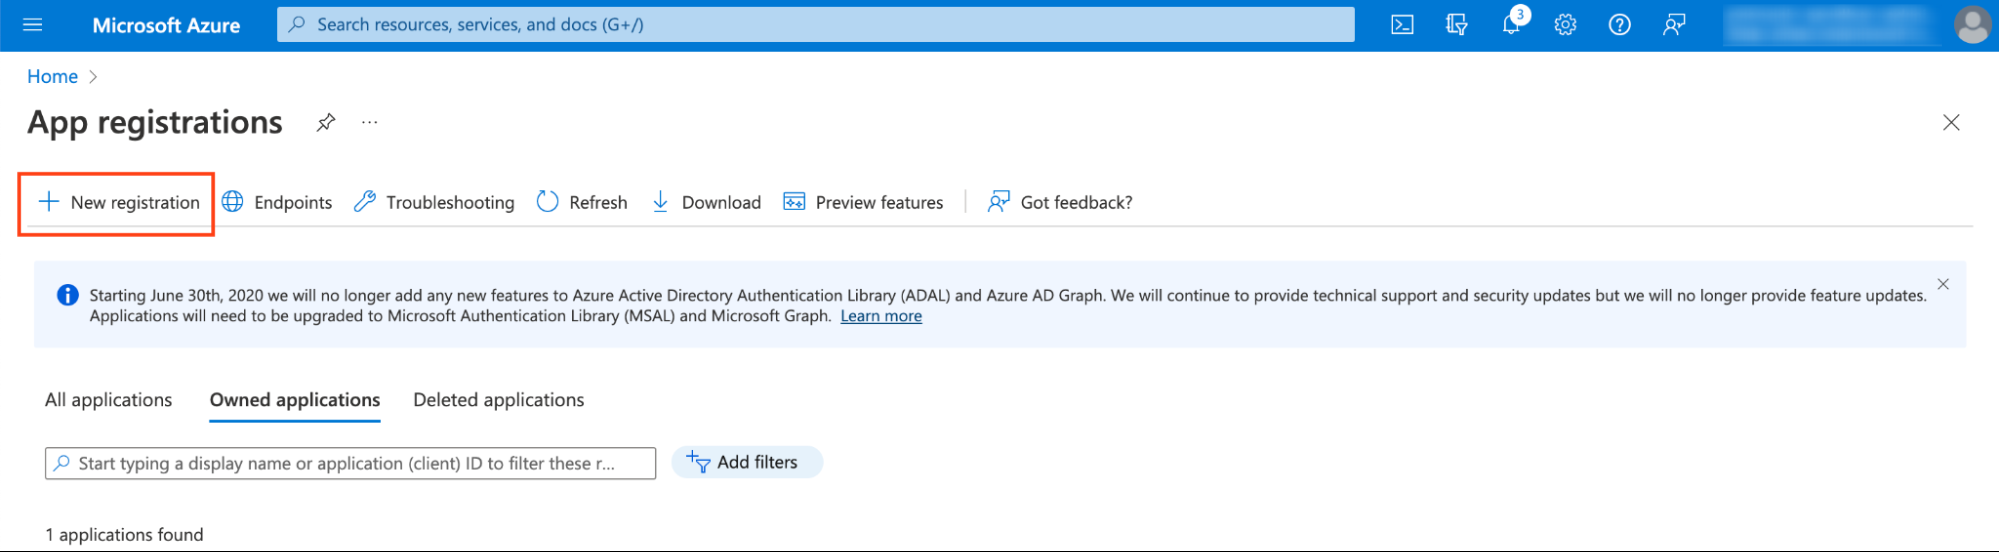
Register an application in Azure
- FindApp Registrationin search bar

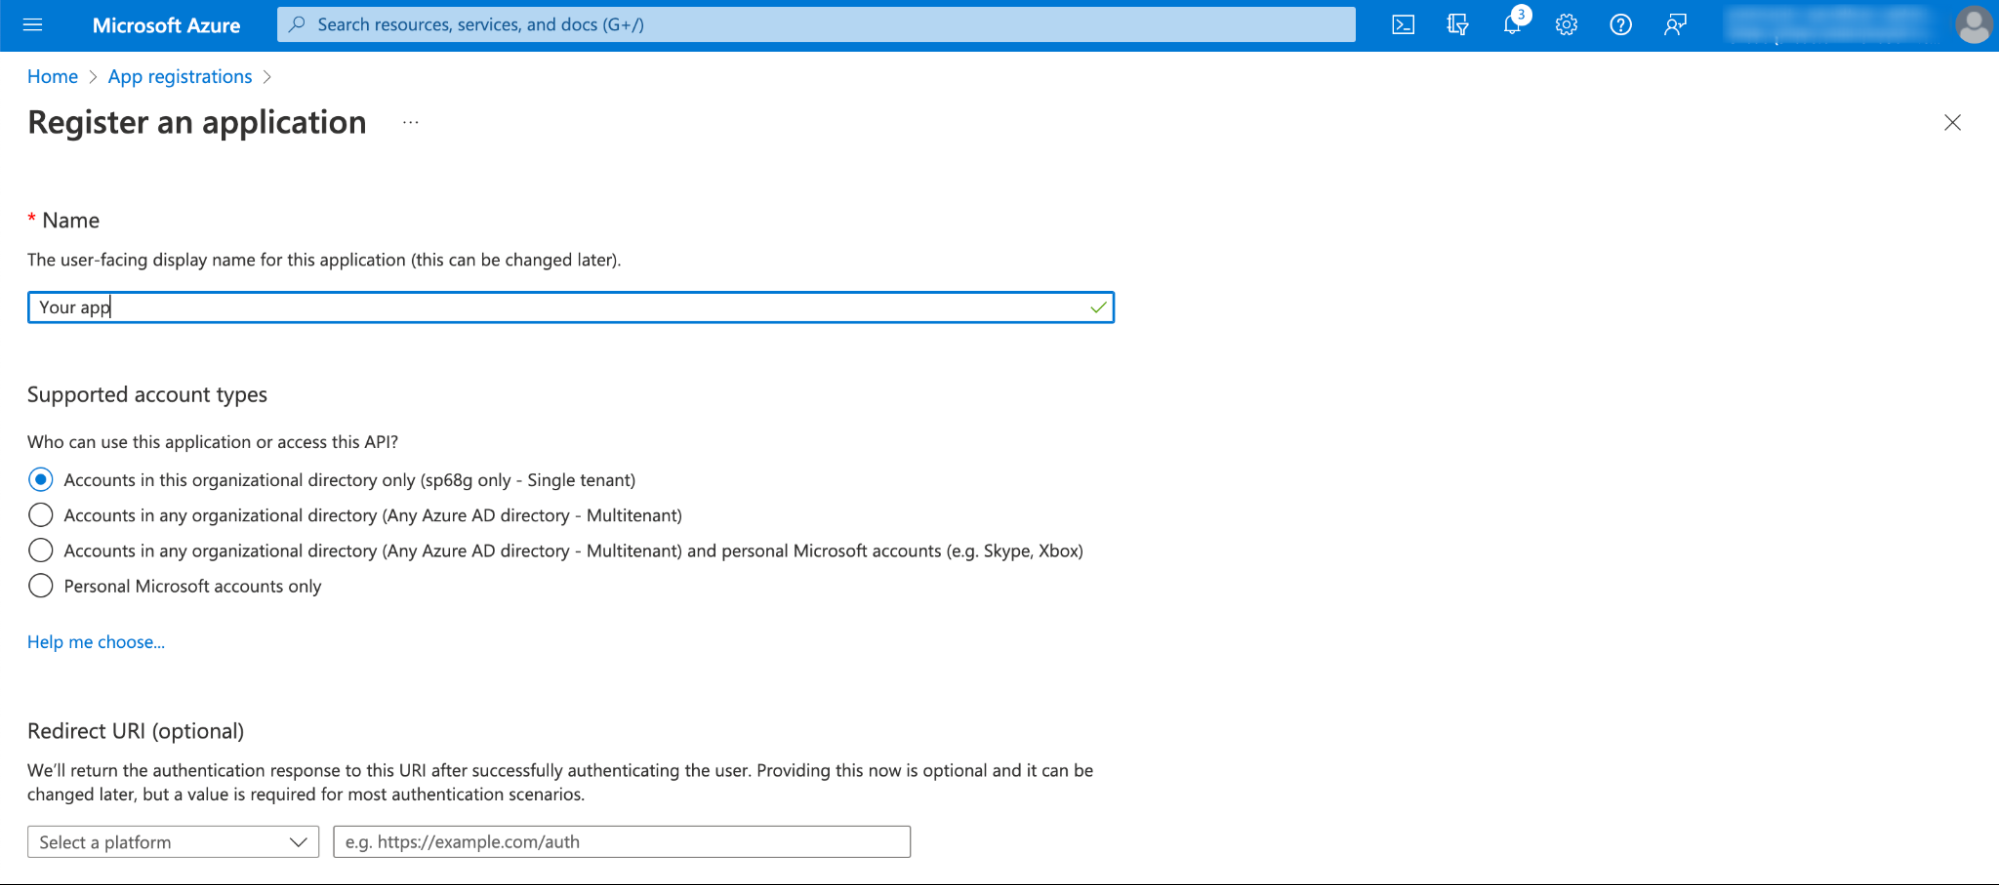
- ClickNew Registration
- Fill form. For Redirect URI choose
webas a platform and inputhttps:///auth/callback/azure
Create IdentityProvider in Aidbox
Open REST console in Aidbox UI and create IdentityProvider
POST /IdentityProvider
content-type: text/yaml
accept: text/yaml
id: azure
title: Azure AD
active: true
scopes:
- profile
- openid
system: azure
userinfo-source: id-token
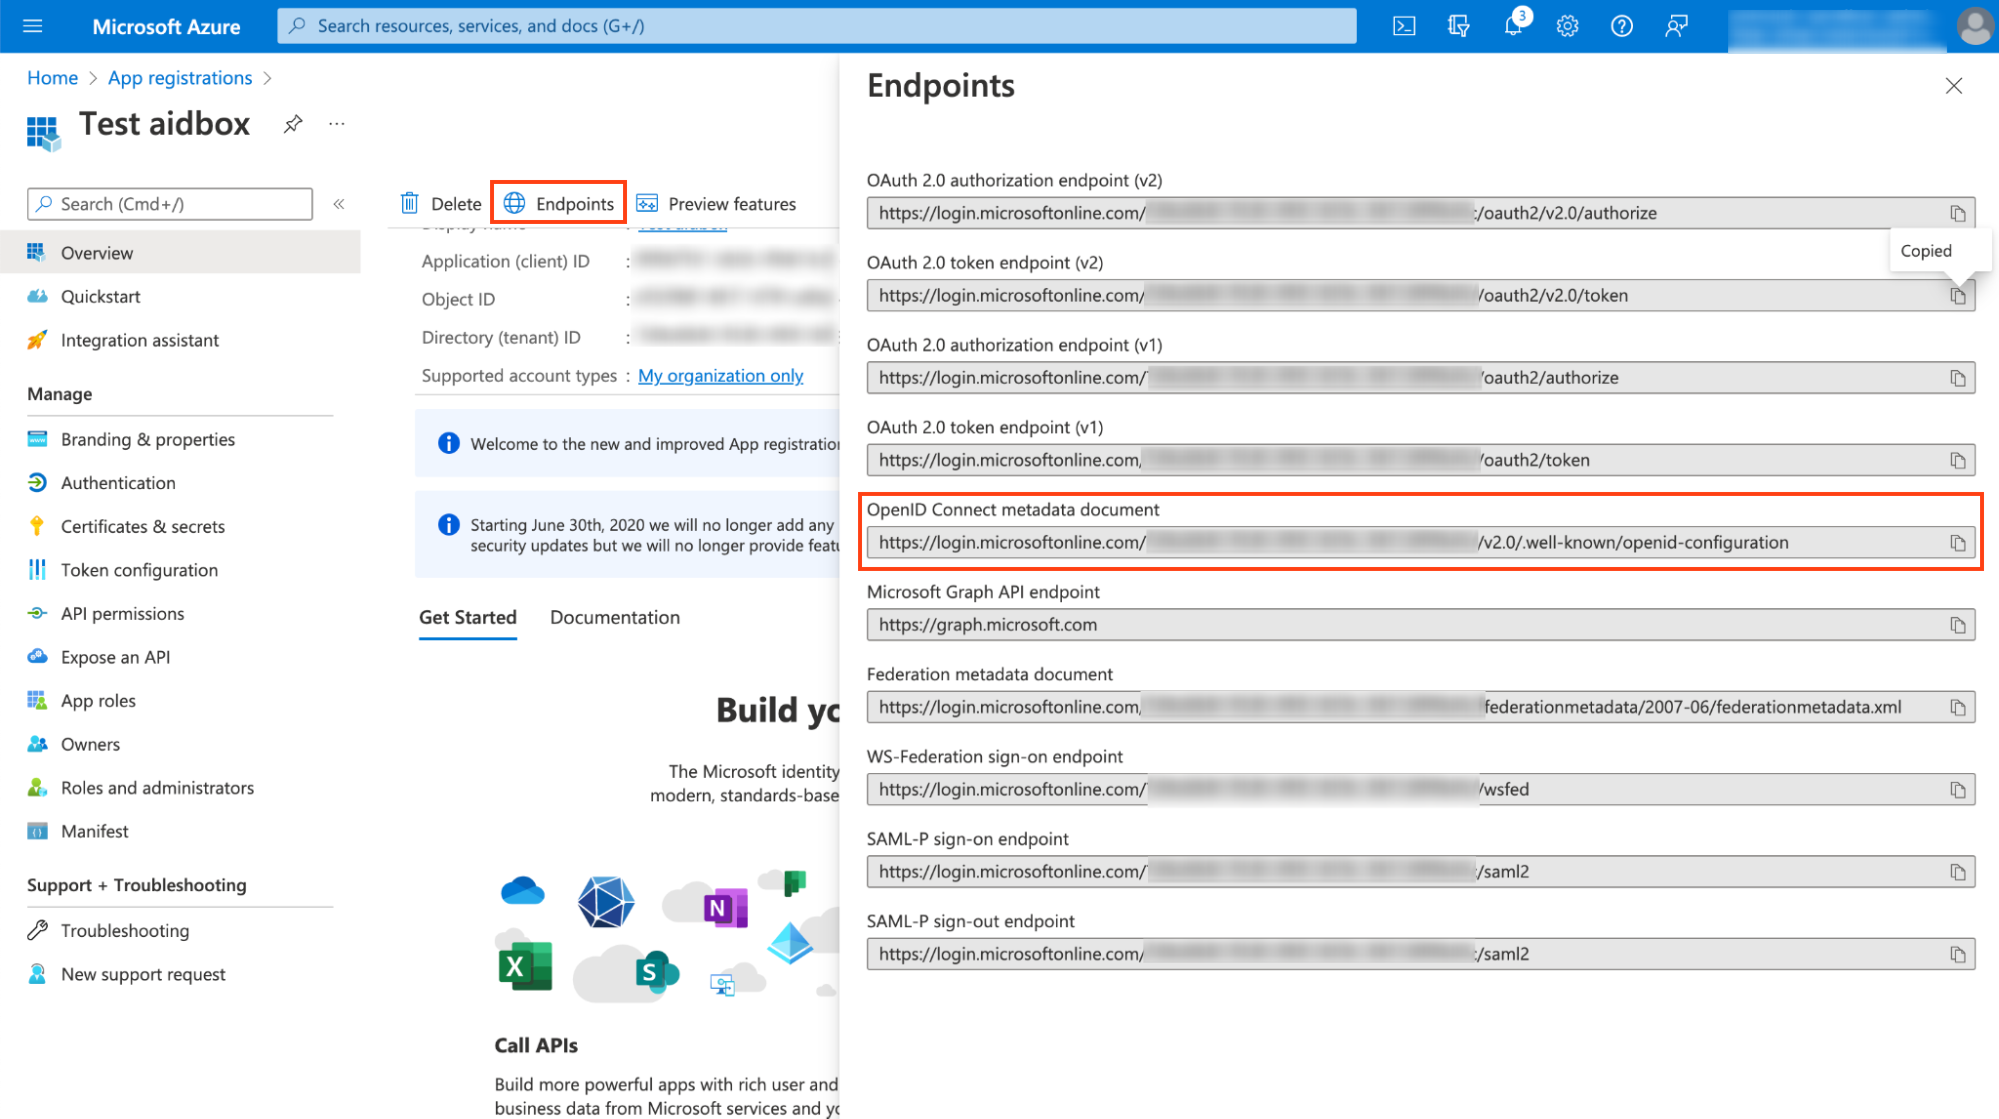
authorize_endpoint: <your authorization endpoint>
token_endpoint: <your token endpoint>
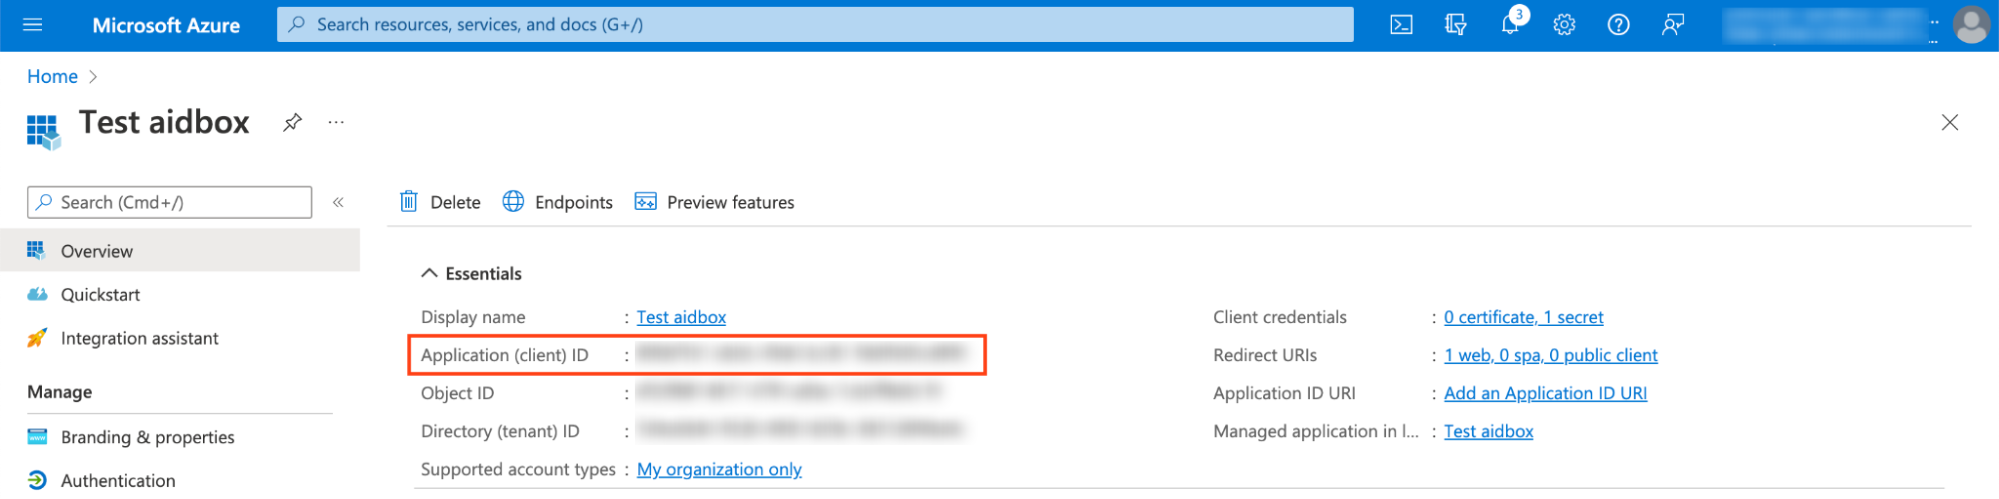
client:
id: <your application (client) id>You can find application (client) id on App Overview page
and your endpoints by clicking on Endpoints and visiting OpenID Connect metadata document
Issue certificate
Once IdentityProvider resource is created in Aidbox, you can generate private key & certificate:
POST /IdentityProvider/azure/$rotate-credentials
content-type: text/yaml
accept: text/yaml

auth-method: asymmetric
confirm: true

# response 200 OK
# Private key & certificate are generated and saved in the IdentityProvider
Aidbox generates certificate for 365 days.
Than you may download the certificate in order to upload it to Azure AD by following the link
<AIDBOX_BASE_URL>/IdentityProvider/azure/$download-certificateUpload the certificate into Azure AD
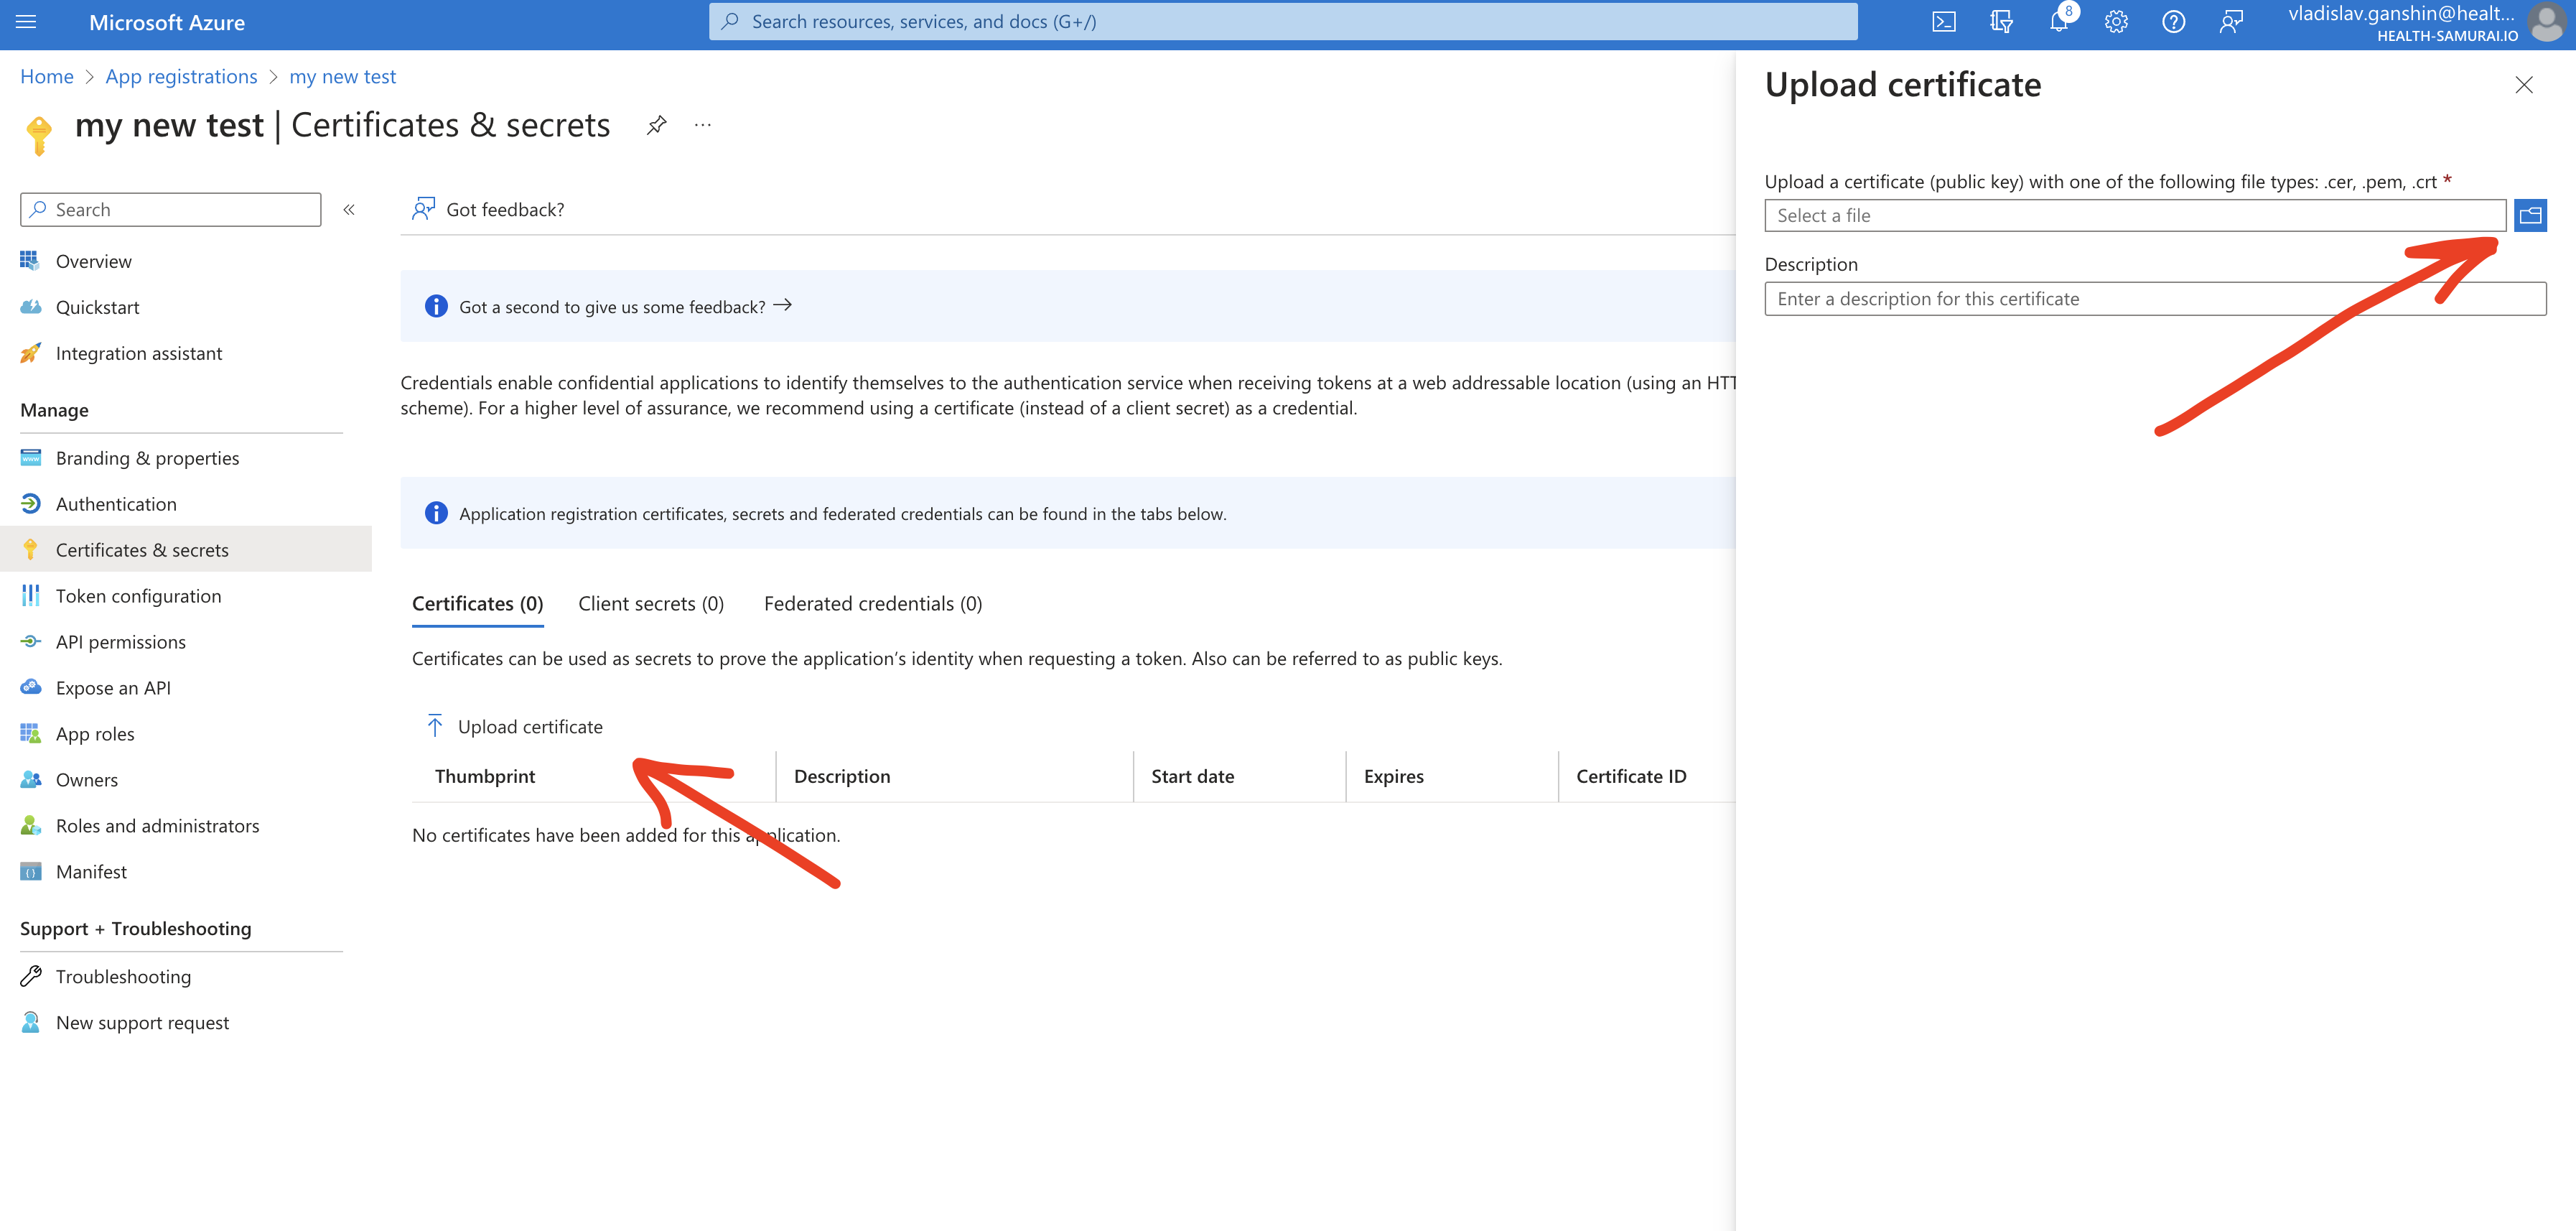
It may take few minutes when Azure starts processing the uploaded certificate.
Log in to Aidbox
Go to your Aidbox base URL. You will be redirected to the log in page where you should now see Sign in with Azure AD button. Press this button and log in with Azure AD user. This user will be logged in to Aidbox Console but he won’t have any permissions. Read more in Access Control about permissions.